Access the Command Line
Dennis Kibbe
Mesa Community College
Today we're diving into one of the most fundamental skills in Linux - accessing and using the command line. Our objective is to understand how the command line works, practice basic navigation, and build confidence with terminal interactions. By the end of this lesson, you'll be comfortable opening a terminal, entering commands, and troubleshooting common mistakes that every Linux user encounters. This slide presentation was created using Reveal.js . You can access a transcript of this presentation by pressing S for speaker notes. You can access navigation help by pressing the question mark key. Audio for this presentation is artificially generated.
Module Outline
Access the Command Line
Graded Quiz
Access the Command Line with the Desktop
Guided Exercise
Execute Commands with the Bash Shell
Graded Quiz
Correct Errors Entering Commands
Module Summary
Resources
Graded Lab
Learning Objectives
After completing the work in this module you will be able to:
Log into the GNOME Desktop and run commands in a Bash shell.
Log into a text-based host and enter commands.
Use Bash shell features to save time entering commands.
Correct common mistakes when entering commands.
Access the Command Line
Introduction
This slide shows you the three-layer architecture that makes Linux work - think of it like a sandwich with the kernel at the center. The kernel is the brain of your system that directly manages hardware like your CPU, memory, and hard drives, but you never talk to it directly. The shell, usually Bash, acts as your translator - it takes the human-readable commands you type and converts them into instructions the kernel understands. The utilities are the actual commands you'll use every day, like ls to list files or cp to copy them. When you type a command, it travels from the utility layer, through the shell, down to the kernel, and the results come back up to display on your screen.
The GNOME Terminal Program
Now let's see how we actually access that shell through GNOME Terminal, which is the graphical application that gives us a window into the command line. When you open GNOME Terminal, you'll see a blinking cursor next to what we call the shell prompt - this is where you type your commands. The prompt usually shows your username, the computer name, and your current directory, followed by a dollar sign for regular users or a hash symbol for the root user. This prompt is Bash's way of saying "I'm ready for your next command," so don't worry if it looks intimidating at first.
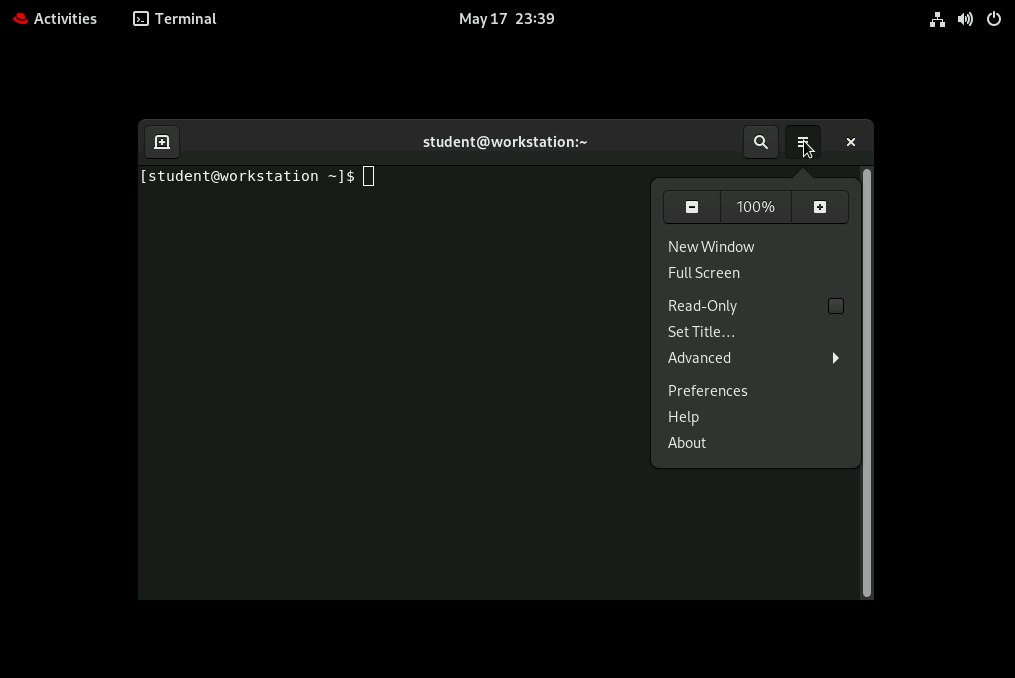
The GNOME Terminal Menu
Let's make your terminal more comfortable to work with by adjusting its appearance and behavior. Open the terminal menu - you might see three horizontal lines in the corner or need to right-click in the terminal window - then select Preferences . Here you can change the font size to make text easier to read, adjust colors for better contrast, and modify the terminal size. Remember, these changes only affect how the terminal looks and feels - they don't change how the shell actually works underneath. Take a moment to experiment with these settings until you find what works best for your eyes.
Log in Using the Text Console
Red Hat Enterprise Linux 9.1 Beta (plow)
Kernel 5.14.0-70.13.1.el9_0.x86_64 on an x86_64

Activate the web console with: systemctl enable --now cockpit

utility login: megan
Password:
Sometimes you'll encounter a pure text login screen without any graphics, especially when working with servers or virtual consoles. The system will ask for your username first - type it and press Enter . Next comes your password, and here's where students often get confused: when you type your password, nothing appears on screen, not even dots or asterisks. This is completely normal and intentional - it's a security feature to prevent others from seeing how long your password is or guessing characters. Just type carefully and press Enter , and if your credentials are correct, you'll see the shell prompt appear.
Log in Using Secure Shell
[student@workstation ~]$ ssh student@servera
Warning: Permanently added 'servera' (ED25519) to know hosts.
Activate web console with: systemctl enable --now cockpit.socket

Register system with Red Hat Insights: insights-client --register
View all your systems at https://red.ht/insights-dashboard
[student@servera ~]$
In this course, you'll frequently use SSH (Secure Shell) to connect to remote lab systems called servera and serverb - this is how you'll do most of your hands-on work. The command format is ssh username@hostname, so you might type ssh student@servera using your assigned username. After pressing Enter , you'll be prompted for your password with the same invisible typing we just discussed. Once connected, you'll see a shell prompt that looks slightly different because you're now working on the remote system instead of your local machine. Get comfortable with this process early - SSH is how system administrators work with remote Linux servers in the real world.
Log Out Using Secure Shell
[student@servera ~]$ exit
logout
Connection to servera closed.
[student@workstation ~]$
To properly disconnect from a remote system, simply type exit or press Ctrl+D in your terminal. This closes your SSH session cleanly and returns you to your local machine's command prompt. Always remember to log out properly rather than just closing the terminal window - this helps maintain security and frees up resources on the remote server. Think of it like hanging up a phone call rather than just walking away from the phone.
The Lab Environment
Your lab environment provides an alternative way to access servera and serverb through a console connection that doesn't rely on the network. Think of this console as a "back door" that's useful if network connections fail or you need to troubleshoot network issues on the remote systems. The console gives you direct access to the system just like sitting at its physical keyboard. When you finish each lab, it's good practice to delete the current lab environment to start fresh next time - be sure to watch the introductory video that explains how the lab environment works.
Graded Quiz
Access the Command Line
Access the Command Line with the Desktop
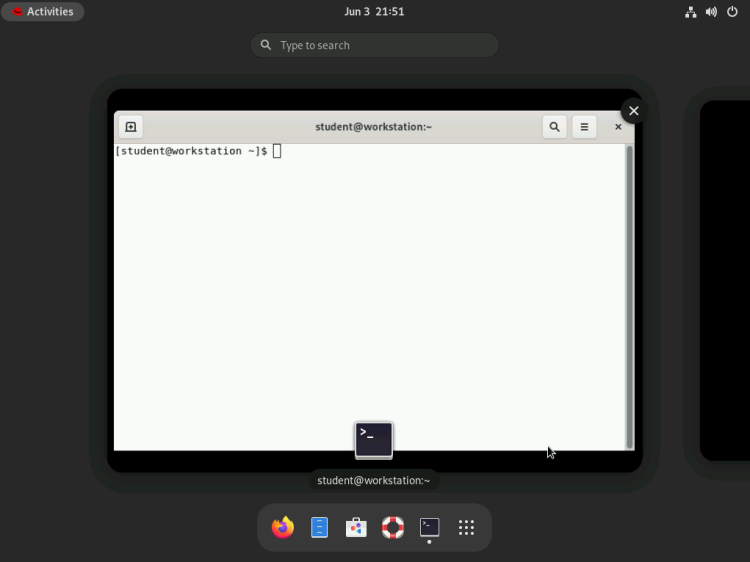
Most of your work in this course will involve using a terminal program within the GNOME desktop environment to connect to remote hosts. If you don't see the terminal icon in your taskbar at the bottom of the screen, click the Activities button on the far left and type "terminal" to search for it. The terminal application will appear in the search results, and you can click it or press Enter to launch it. This becomes second nature once you've done it a few times.
🛠️ GNOME Desktop Terminal Program
Most of your work in this course will involve using a terminal program within the GNOME desktop environment to connect to remote hosts. If you don't see the terminal icon in your taskbar at the bottom of the screen, click the Activities button on the far left and type "terminal" to search for it. The terminal application will appear in the search results, and you can click it or press Enter to launch it. This becomes second nature once you've done it a few times.
Logout and Reboot the System
Let's review the proper way to end your work session in GNOME, whether you're using a lab machine, personal computer, or shared workstation. You can access logout and shutdown options through the user menu in the top-right corner of the desktop - look for your username or a power icon. Always log out properly rather than just walking away, especially on shared systems, to protect your work and maintain security. On lab machines, follow any specific shutdown procedures your instructor provides.
Guided Exercise
Access the Command Line with the Desktop
In this exercise, you'll practice changing your password using the passwd command - this is a fundamental security skill every Linux user needs. When you type passwd and press Enter , the system will prompt you for your current password first, then ask you to enter your new password twice for confirmation. Remember that no characters will appear on screen while typing passwords - this applies to both the old and new passwords you enter. Take your time and type carefully, as you won't see what you're typing. Be sure to check Canvas for any Lab Notes that apply.
Execute Commands with the Bourne Again SHell
The Bash shell (Bourne Again Shell) is named after Stephen Bourne, who created the original Bourne shell in the 1970s. Bash has become the default command interpreter for most Linux distributions because it's powerful, user-friendly, and maintains compatibility with older shell scripts. Understanding that Bash is your interpreter between human commands and the operating system will help you appreciate why we spend time learning its syntax and features.
Basic Command Syntax
[student@workstation ~]$ ls -l .ssh
total 20
-rw------- 1 student student 726 Sep 21  authorized_keys
-rw------- 1 student student 173 Mar 27  config
-rw------- 1 student student 846 Jul  6  known_hosts
-rw------- 1 student student 464 Jan  3  lab_rsa
-rw------- 1 student student 97  Jan  3  lab_rsa.pub
[student@workstation ~]$
Every Linux command follows a predictable pattern: the command name, followed by optional flags (called options), followed by arguments that tell the command what to work with. Think of options as switches that modify how a command behaves - they start with either a single dash (-) or double dash (--). Arguments are the files, directories, or other data the command should operate on. For example, ls -l /home/student uses ls as the command, -l as an option for long format, and /home/student as the argument specifying which directory to list.
Modifying a Command with an Option
[student@workstation ~]$ ls -a
.              .bash_logout   .config    .grading     Music        .ssh
..             .bash_profile  Desktop    .ipython     Pictures     Templates
.ansible       .bashrc        Documents  .jupyter     Public       .venv
.bash_history  .cache         Downloads  .local       .rht-labs-dle.log  Videos
[student@workstation ~]$
Let's see how options change command behavior with these ls examples. The command ls -a shows all files including hidden ones that start with a period - without the -a option, hidden files remain invisible. When we add /home/student/.ssh as an argument, we're telling ls to list contents of that specific hidden directory. The -l option gives us detailed information like file permissions, ownership, size, and modification dates. Notice how combining options and arguments gives you precise control over what information you see and how it's displayed.
Adding an Argument to a Command
[student@workstation ~]$ ls -l .ssh
total 16
-rw-------. 1 student student    0 May 18  2022 authorized_keys
-rw-r--r--. 1 student student   62 May 18  2022 config
-rw-r--r--. 1 student student  109 Jun  9  2022 known_hosts
-rw-------. 1 student student 1679 May 18  2022 lab_rsa
-rw-r--r--. 1 student student  395 May 18  2022 lab_rsa.pub
[student@workstation ~]$
Adding a directory name as an argument to the ls command lists files in the hidden .ssh directory. The -l option lists the files in a long format which includes additional information such as permissions, ownership, file size, and modification or creation date.
Understand Tab Completion
[student@workstation ~]$ cd D
Desktop/ Documents/ Downloads/
[student@workstation ~]$ cd Do
Documents/ Downloads/
[student@workstation ~]$ cd Documents/
[student@Documents ~]$
Tab completion is your best friend for avoiding typing errors and working faster at the command line. When you type cd D and press Tab , nothing happens because multiple directories start with 'D' - Desktop, Documents, and Downloads. Pressing Tab twice shows you all possible completions so you can see your choices. As you type more letters like cd Doc and press Tab , the shell automatically completes to Documents/ because it's now the only match. This works with commands, filenames, and directory names, saving you time and preventing spelling mistakes.
A Long Command on Multiple Lines
Command as shown in lab instructions
$ ln /home/student/files/target.file \
/home/student/links/file.hardlink
Sometimes you'll see lab instructions with a backslash (\) at the end of a line - this tells the shell that the command continues on the next line. I recommend replacing the backslash with a space and typing the entire command on one line instead, as it's simpler and less error-prone. The tilde (~) is a handy shortcut that always represents your home directory, so ~/Documents means the Documents folder inside your home directory. These shortcuts make navigation faster once you get used to them.
A Long Command on Multiple Lines
Enter on command line
$ ln /home/student/files/target.file /home/student/links/file.hardlink
Display the Command History
[student@workstation ~]$ history
    1 ls -l .ssh
    2 ls -a
    3 cd Documents/
    4 echo "Hello World"
    5 cd ~/
[student@workstation ~]$
The history command shows you a numbered list of commands you've typed recently - typically the last 500 to 1,000 commands. This is incredibly useful for remembering what you did, repeating complex commands, or catching mistakes. You can re-run any command by typing an exclamation point (called "bang" in Unix terminology) followed by the command number, like !101. The double exclamation !! repeats your last command, which is handy for running the same command with sudo if you forgot to use it the first time. Your command history is saved in a hidden file called .bash_history in your home directory.
Graded Quiz
Execute Commands with the Bash Shell
Correct Errors Entering Commands
The shell can be unforgiving and you will make mistakes. Recognizing errors and knowing how to deal with common errors will accelerate your mastery of the Bash shell.
Spaces in File Names
[student@servera ~]$ touch Module 1 Outline
[student@servera ~]$ ls Module 1 Outline
1        Module   Outline
One of the most common mistakes new Linux users make is creating filenames with spaces, which can cause unexpected behavior. When you type touch Module 1 Outline, the system creates three separate files instead of one because spaces separate arguments in shell commands. To avoid this, use dashes, underscores, or CamelCase for filenames. If you must work with existing files that have spaces, surround the filename with quotes like "Module 1 Outline" to treat it as a single argument.
🛠️ Replace Spaces in File Names
[student@servera ~]$ touch Module-1-Outline
[student@servera ~]$ ls Module-1-Outline
Module-1-Outline
Replace spaces with a dash or underscore or use Camel Case . If you need to deal with an existing file name which contains spaces surround the file name with quotes. See this article for help.
No Such File or Directory
[student@workstation ~]$ ls file.txt
ls: cannot access 'file.txt': No such file or directory
[student@workstation ~]$
This straightforward error message means exactly what it says - the system can't find the file or directory you specified. When you encounter this, first check that you're in the correct directory using pwd, then use ls to see what files are actually present. Often the issue is a typo in the filename or incorrect capitalization, since Linux is case-sensitive. Using tab completion whenever possible helps avoid these spelling errors and ensures you're referencing files that actually exist.
Troubleshoot
"No Such File or Directory"
[student@workstation ~]$ ls file.txt
ls: cannot access 'file.txt': No such file or directory
[student@workstation ~]$ ls
Desktop  Documents  Downloads  Music  Pictures  Public  Templates  Videos File.txt
When you get this error check the prompt to see if you are in the directory where the file was created, then run the ls command to see if the file was misspelled or is capitalized differently. You can often avoid this error by using Tab Completion wherever possible to automatically complete file names.
Incomplete Command
[student@workstation ~]$ mkdir
mkdir: missing operand
Try 'mkdir --help' for more information.
[student@workstation ~]$
When a command is missing required information, you'll often see a brief help message or usage example showing the correct syntax. In this example, mkdir needs a directory name to create, so the system shows you the proper format. These error messages are actually helpful - they're teaching you the correct way to use the command. Read them carefully rather than just trying random variations.
Incomplete Command
Corrected
[student@workstation ~]$ mkdir MyStuff
Unfinished Command
[student@workstation ~]$ echo "Hello World
> "
Hello World
If you start a quote but forget to close it, Bash assumes your command continues on the next line and shows a different prompt (usually >) waiting for you to finish. Simply type the missing quote and press Enter to complete the command. This multi-line input feature can actually be useful for very long commands, but as a beginner, it usually indicates a typing mistake that needs correction.
🛠️ Troubleshoot
Unfinished Command
In this example, typng the missing trailing quote and then pressing Enter finishes the command so the shell can run it.
Unresponsive Command
[student@workstation ~]$ echo "Hello World" > hello.txt
[student@workstation ~]$ cat
^C
[student@workstation ~]$
Sometimes a command will appear to "hang" or freeze, especially commands like cat that expect input but don't receive it. If your terminal seems unresponsive and you can't type new commands, press Ctrl+C to interrupt the current command and return to the shell prompt. This key combination is your emergency stop button for commands that aren't working as expected. Don't be afraid to use it - it's better to interrupt and start over than to wait indefinitely.
🛠️ Troubleshoot
Unresponsive Command
🛠️ Module Summary
Access the Command Line
The Bash shell is the standard command interpreter on most Linux systems.
Many commands have a --help option.
Using the GNOME Desktop you can have multiple Workspaces to organize tasks.
The Activities button shows an overview of open windows and applications.
The file command is used to identify a file's type.
The head and tail commands display the first 10 lines or the last 10 lines of a file.
Tab completion automatically completes commands, options, and file or directory names.
To conserve system resources most Linux servers only have a text interface.
A backslash \ (backslash) at the end of a line means that the command continues on the next line.
Graded Lab
Access the Command Line
Before we finish, remember to complete the graded lab in Canvas to reinforce what you've learned today. When you complete the lab exercise, run lab grade cli-review to check your work, take a screenshot of the results, and then run lab finish cli-review to properly close the lab environment. These steps ensure your work is properly recorded and the system is ready for other students. Great job today - you've taken your first important steps into the world of Linux command line interaction!